Textured popcorn ceiling removal. What a huge and labor intensive job. There’s no getting around the fact it’s a super big project to tackle. This is the epitome of monotonous labor. The funny thing about such a project is that it doesn’t take any real expert skill. But, it’s certainly a lot of hard work. And, there is a bit of craft to it. If you’re considering popcorn ceiling removal, you’re making a purely aesthetic choice. What you gain is a different look. The function remains the same.
Textured Popcorn Ceiling Debris Disposal
The first thing you have to do when starting a textured ceiling removal project is to plan for debris disposal. That’s right, you’re first order of business is to have a way to get rid of that stuff. That is, assuming its not tainted with a dangerous material, such as asbestos. Make no mistake about it, this will generate a whole heap of debris. What’s more, it could uncover hidden issues.
Very few things date a space like a popcorn ceiling—and not in a charming way. They’re difficult to repair, hard to clean, and collect dust easily; but despite all these cons, their popularity exploded beginning in the late 1950s because they made easy work of finishing ceilings and hiding imperfections. If it’s time to bid farewell, there are three popular ways to take on the challenge: scrape, cover with a new layer of drywall, or skim coat with plaster to create a new texture. Which is best? Depends on a lot of things, including the age and condition of the substrate (ceiling). –This Old House.com
For instance, the material underneath the texture or cottage cheese might well be damaged. You just don’t know about it yet because it’s covered. Scraping off the popcorn finish can easily reveal such a problem. Of course, you might not find anything.
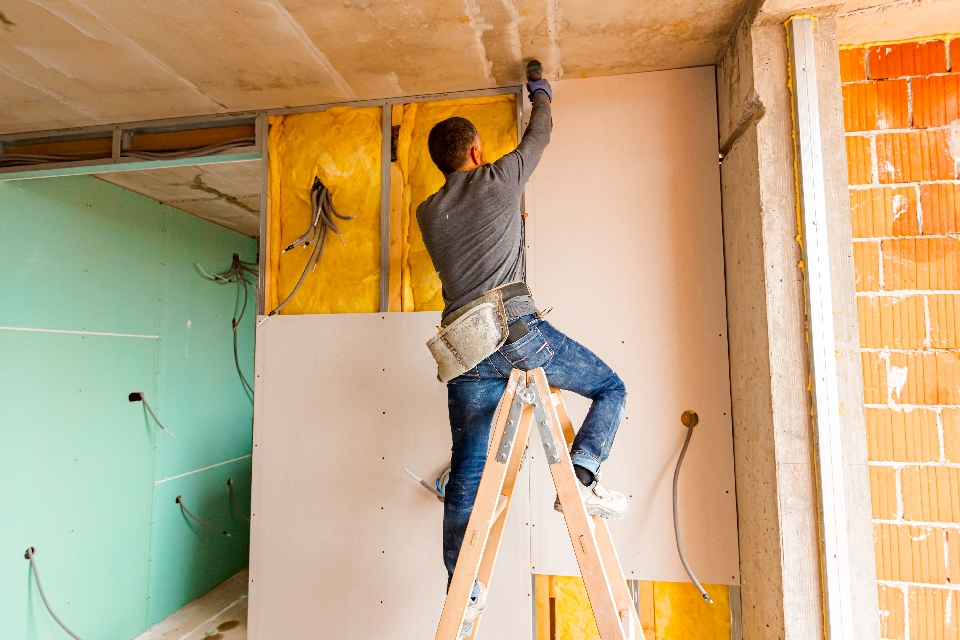
Leesburg Textured Popcorn Ceiling Removal Guide
As for the actual textured popcorn ceiling removal, if you’re seriously committed to doing it yourself, you’ll need a few things. An asbestos test kit, plastic or drop cloths, eye protection, dust masks, light gloves, spray bottles, and scrapers.
- Test for asbestos. Before you start to scrape away, be sure that it’s safe to do so and test for asbestos. You can pick up a kit at your local home improvement store. If it’s negative, proceed. If it tests positive for asbestos, you’ll need to hire a professional.
- Prepare the room to protect the floor. Clear out the room completely. Take down any wall decor, remove any furniture. Then, lay plastic across the entire floor. You can weigh it down by placing bricks in the corners and a few along the perimeter.
- Use a solution to soften the ceiling texture. There are different solutions and mixes to use to spray onto the texture to soften it for removal. Then, scrape away the ceiling texture.
When you need remodeling debris disposal, just phone 800-433-1094 or visit AAA Rousse Services.