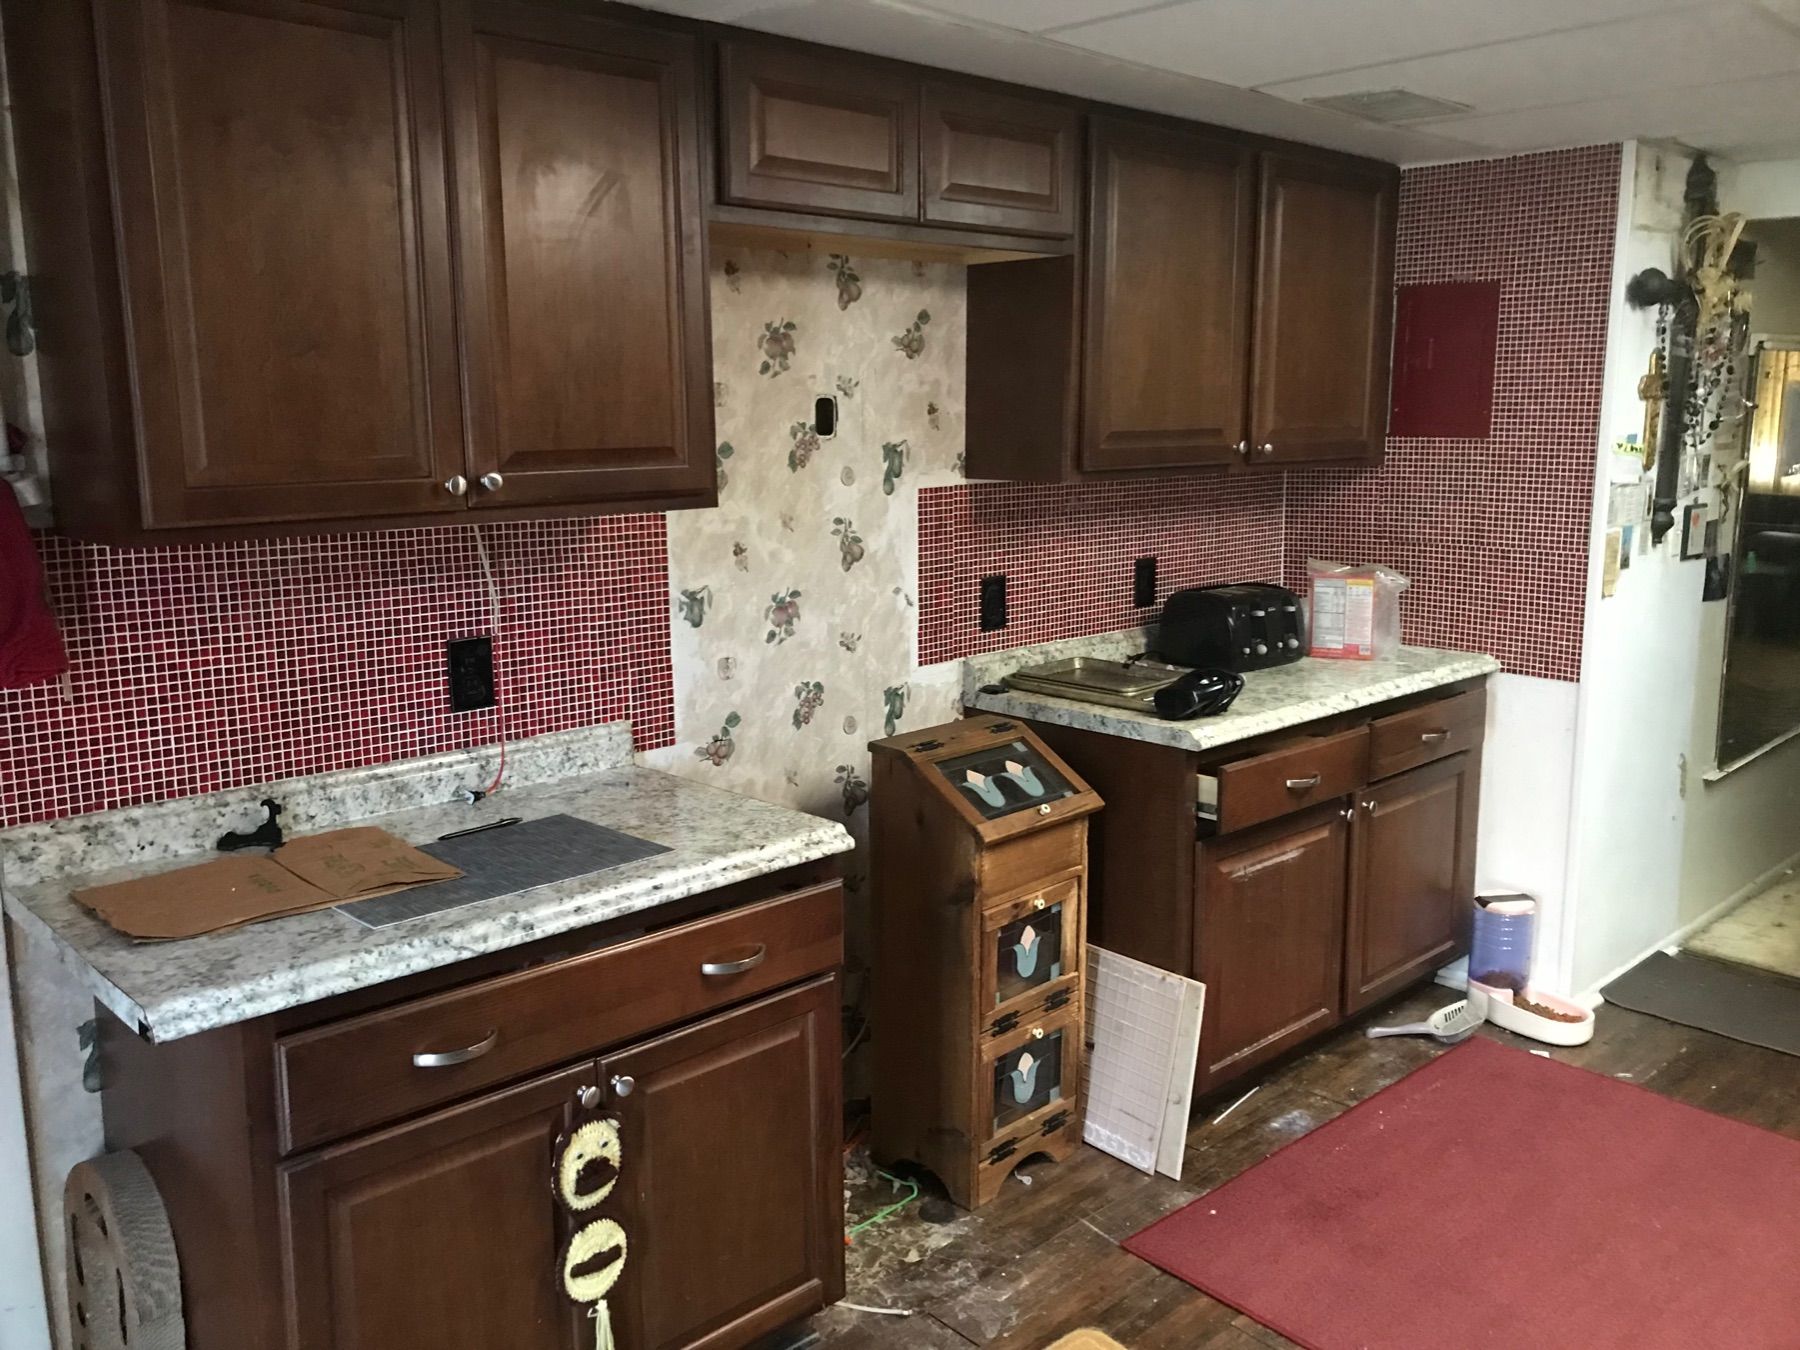
Your kitchen cabinets look worn, outdated, and, plain ugly. So much, that you cringe every single time to unload your dishwasher. It's time to do something about those old kitchen cabinets, but, an outright remodel doesn't fit your budget. A great alternative to replacing them is to refinish each cabinet, but, you're worried about the amount of work it will take. The good news is, you don't have to be a master wood craftsman or an experienced contractor to do the job.
How to Refurbish Kitchen Cabinets
The process of refacing kitchen cabinets only takes about a half hour for each storage space, and, can be done for a fraction of the replacement price, ranging between $50 to $175. Depending on how much of a change you want and the materials, you can reface your cabinets for very little money. You might opt for a complete reface, where you'll cover the fixtures with self-adhesive veneer, or, you can simply repaint each one.
Refacing your kitchen cabinets includes covering the exposed frames with a thin veneer of real wood or plastic laminate. Doors and drawer fronts are replaced to match or complement the new veneer. New hinges, knobs, pulls, and molding complete the transformation. –House Logic
The simplest way to refurbish kitchen cabinets is to remove and replace the hardware, sand, and paint the fixtures. You'll be surprised by how much a difference this easy fix can make in your most used space. Here's how to repaint and refurbish kitchen cabinets:
- Gather your tools and materials. You'll need a drill-driver or screwdriver, pliers, plastic cups, eye protection, dust mask, paint drop cloths, sandpaper, primer, paint, roller or spray gun, and scrap wood. In addition, you'll need to purchase new hardware, if you're going to replace the pulls and hinges.
-
- Remove all the hardware. Using a drill-driver or screwdriver, unfasten the hinges from the cabinet doors — you might have to pull the hinges free with pliers. Next, unfasten the pulls. You can put the hardware into plastic cups if you are going to reuse them, or, into plastic bags if you're replacing the hardware.
-
- Setup a dedicated workspace. You'll need a clean, dust free environment, where it's okay to spill paint. This area should be well ventilated and have plenty of light, along with enough room to work freely. Clear a space for testing scrap wood. Prime and paint the scrap and let dry to see how the finish looks.
-
- Sand and prime the cabinets. To get a truly adhesive surface, you'll need to sand the cabinets and the unattached doors, down to the wood, especially if the original color is dark. Then, prime the cabinets and doors, following the manufacturer's instructions.
-
- Paint the cabinets and doors, then, let dry. If the scrap wood looks good, then paint the cabinets and doors, letting each dry completely. You can add decorative edging or a pattern, if you like more of a bold look.
- Replace the hardware and rehang. Once the paint dries, you can then delicately replace the pulls and hinges. With the new hardware attached to the doors, rehang the fixtures in your kitchen to finish.
